Securing Our Arkime Server
Although, if you are using this for personal use at home, this is not a requirement, but it is go practice. I personally think it is better to side with caution, plus, you don’t lose anything by doing this. You stand to gain and learn, which is a win win.
Review NGINX Directory and Configuration
When installing arkime, I already had mentioned that you should install nginx during the process. If you have not done so, please do so now before we continue. Also, may be easier just to run as root. I forget to type sudo a lot and sometimes it can be a little frustrating.

Setting up NGINX (Backup Original first)
cd /etc/nginxcp nginx.conf nginx.conf.bakcd conf.dtouch arkime.conf- You will set up your listener here
cd /etc/nginxmkdir ssl
Ok, so those are the first steps to ensure we have all the current directories and configuration files that we need. From here, we will want to generate an SSL certificate so connecting to our server via HTTPS will work.
sudo openssl req -x509 -nodes -days 3650 -newkey rsa:2048 -keyout /etc/nginx/ssl/arkime.key -out /etc/nginx/ssl/arkime.crt- Reference page
sudo openssl dhparam -dsaparam -out /etc/nginx/ssl/dhparam.pem 4096
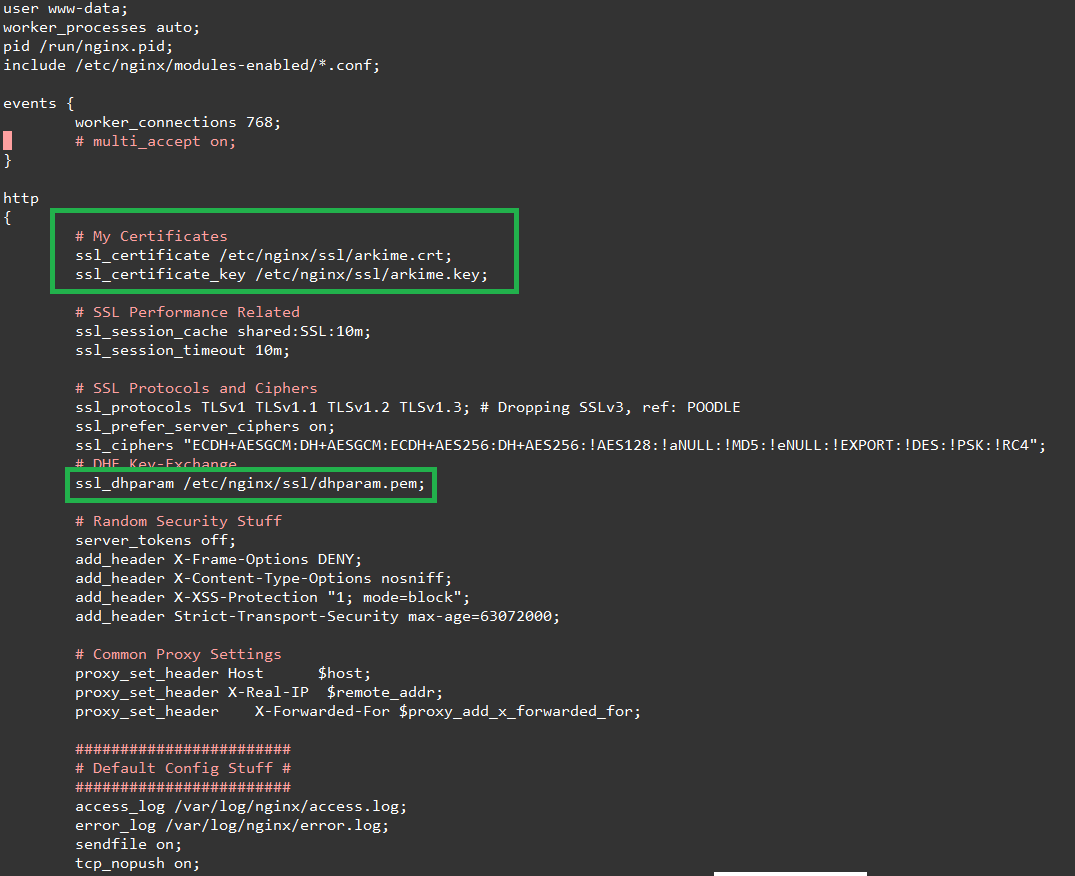
Screen shot of nginx.conf
For the nginx.conf, what you want to ensure is that the paths for your certs are correct and the names match exactly. What I have in the template does not have to be what you used if you decided to modify the above command with a name more specific to what you want. if you did not modify anything, then what you see below is correct.
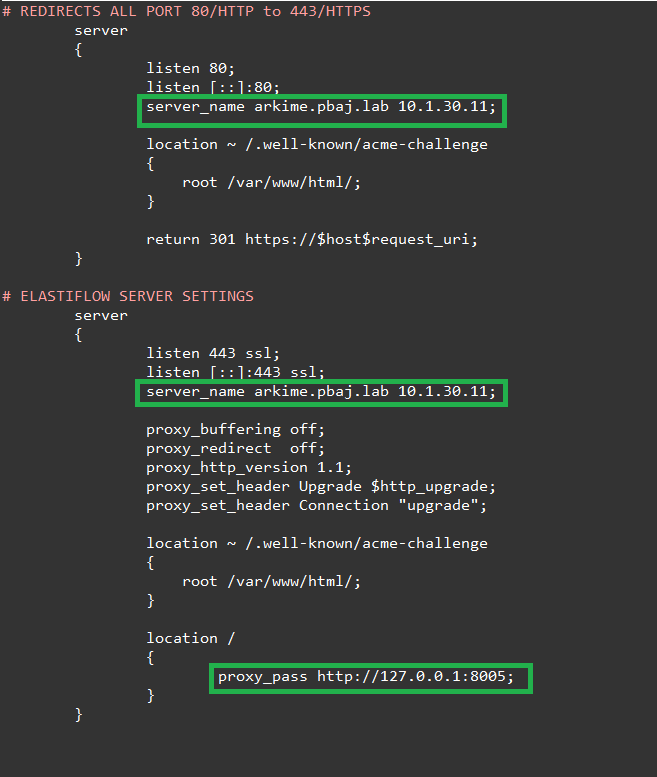
Screen shot of arkime.conf
For this section, you want to focus on how this relates to your network. You may not have DNS setup to resolve so it may not even be necessary for you to add. You may only need to put in the IP address. If you do have DNS setup at home, then you want to adjust it to fit the correct DNS and obviously, adjust the IP Address to be the IP address of your Arkime server. That is it!
Here are links to my example configs that you can use as a template. You can paste the information directly into your nginx setup and it will work out of the box (with a few minor changes), granite you are running the docker version of arkime covered in my original post.
Setting up UFW
This portion of hardening your system will be fairly easy. I chose to restrict access which is custom to my environment. I allowed connections from my trusted LAN for access on required ports to view the logs in Elasticsearch. In short, the goal is to limit connections only to the necessary ports and protocols needed.
Below is the methodology I used
Allow my local LAN to arkime server of on SSH/22
ufw allow from 1.2.3.4/24 to any port 22 proto tcp
Allow my local LAN to arkime server of on 8005/Elasticsearch port
ufw allow from 1.2.3.4/24 to any port 8005 proto tcp
Allow my local LAN to arkime server of on 80/HTTP port
ufw allow from 1.2.3.4/24 to any port 80 proto tcp
Allow my local LAN to arkime server of on 443/HTTPS port
ufw allow from 1.2.3.4/24 to any port 443 proto tcp
Once these rules are entered, you can show the output of what is currently input in the firewall. Keep in mind, the firewall is most likely off by default. These are the final steps
sudo ufw status- **If it shows in active, you must enable it.
sudo ufw enablesudo ufw status numbered
That’s it, you are good to go!
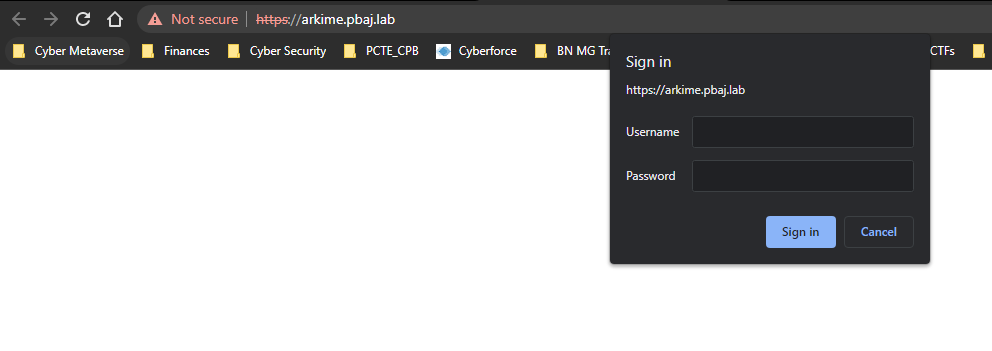
As you can see below, I went to my instance of arkime by dns name and the reverse proxy passed https://127.0.0.1:8005 to my arkime server without me having to specify the port in the url on the insecure http protocol.